How to Set Up a Garage Workshop on a Budget: A Practical Build Order
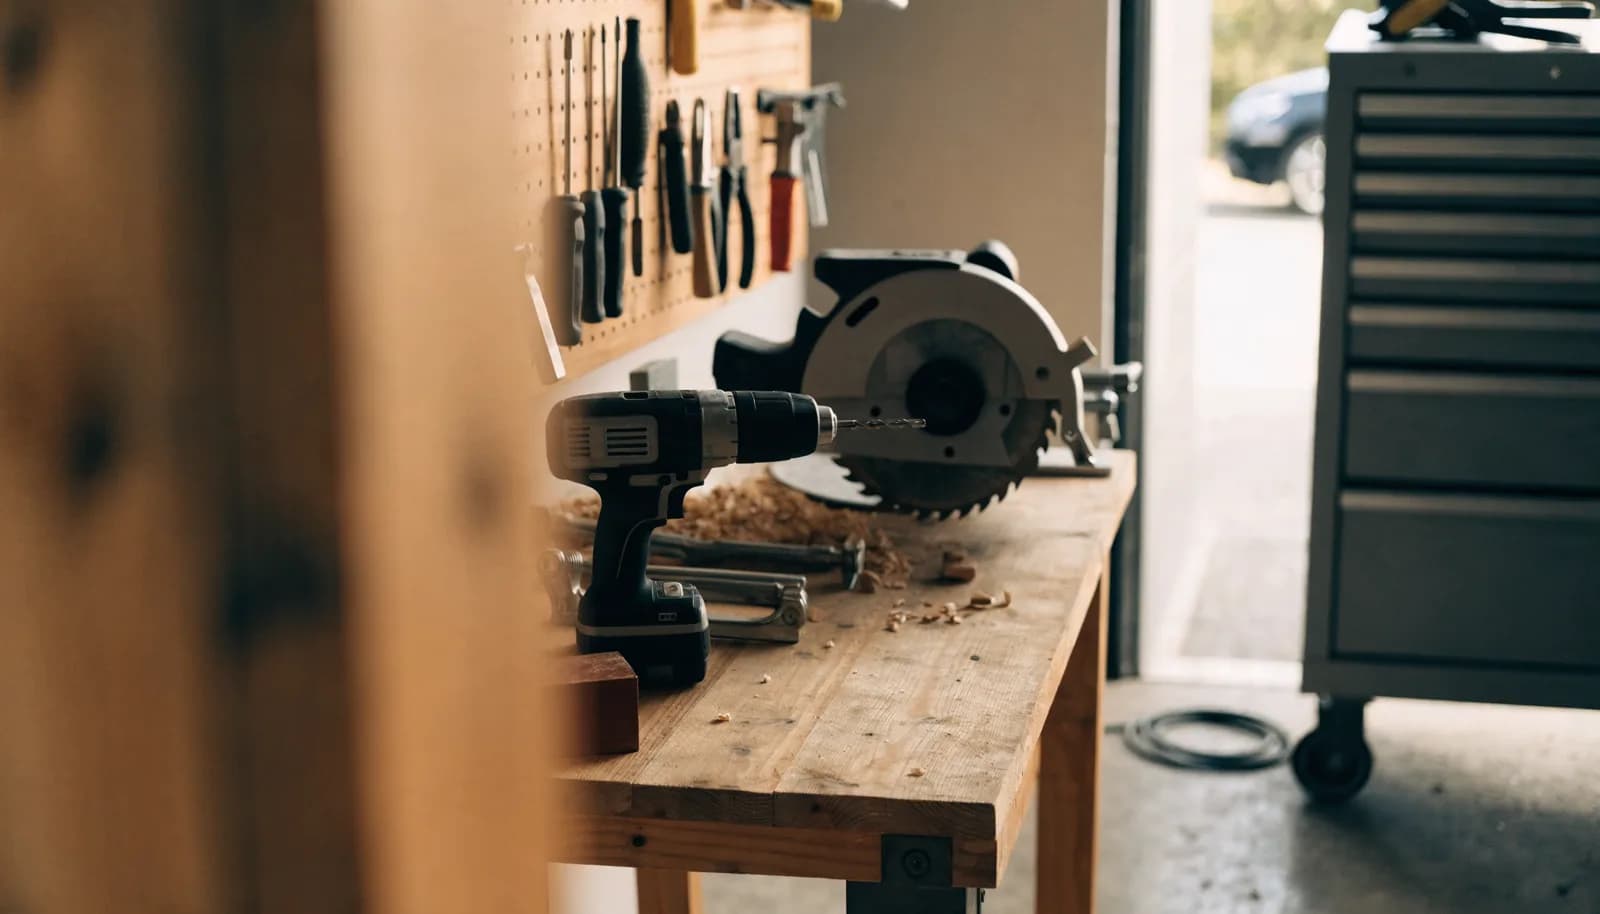
A garage workshop has a way of getting expensive long before it gets useful. You buy a saw because one project needs it, then a sander, then a set of clamps you use twice, and somewhere in all of that the bench is still a folding table. Working out how to set up a garage workshop on a budget is less about hunting for the cheapest tool and more about deciding the order you buy things in.
What follows is a build order, not a shopping list. It covers what to set up first, which tools genuinely earn their keep in the first year, and where the savings actually hide once you stop paying full retail. A lot of it comes down to buying the right condition grade rather than the cheapest brand, and you can shop discounted tools at every step below without settling for something that will not hold a straight line.
Decide What the Workshop Is Actually For
The fastest way to overspend is to build a workshop for a hobby you do not have yet. Before you buy anything, write down the three projects you honestly expect to take on in the next year. Hanging shelves, repairing furniture, and assembling flat-pack storage call for a very different kit than breaking down sheet goods or building cabinets.
That short list decides everything downstream: how much bench you need, how much floor you have to keep clear, and whether a miter saw belongs in year one or year three. A garage that still parks two cars wants a compact bench on locking casters. A garage where a car never parks can justify a fixed bench and a dedicated cutting station.
Be honest about space too. Measure the footprint you can realistically keep clear, then subtract the swing of the garage door. Most budget workshops run out of square footage well before they run out of tools.
Build the Bones Before You Buy the Toys
A solid work surface makes inexpensive tools perform better, and a wobbly one makes expensive tools frustrating. Build or buy the bench first. It is the single upgrade that quietly improves every cut, every glue-up, and every repair you make afterward.
You do not need a hardwood showpiece. A flat, heavy, waist-height surface that does not rack when you lean into it will carry you for years. Construction lumber with a doubled plywood top gets you there for a fraction of the price of a finished bench, and the dents it picks up read as character rather than damage.
The same logic applies to everything around it. A sturdy shop stool, a pair of sawhorses, and one clear stretch of wall for a pegboard cost very little and remove most of the daily friction. If you are pricing out lumber, fasteners, and hardware for the build itself, discounted home improvement supplies are usually the cheapest part of the entire project.
Light, Power, and Dust: The Unglamorous Upgrades
Three things quietly decide whether you use the workshop or avoid it: whether you can see, whether you can plug in, and whether you can breathe. None of them are exciting purchases, and all of them beat a fourth saw.
Lighting comes first. Most garages ship with a single fixture centered on the ceiling, which puts your own shadow exactly where you are trying to work. Adding light directly over the bench is inexpensive and changes the daily experience more than any single tool ever will.
- Light the bench itself, not just the room, so your body does not shadow the work.
- Mount a power strip or two at bench height so cords are not draped across the floor.
- Keep one outlet free for a shop vacuum, which handles dust control and cleanup both.
- Move air when you sand, stain, or finish, even if that just means opening the door.
- Store finishes and solvents off the floor and away from any heat source or water heater.
The First Ten Tools, in Order
Tool lists get bloated because they are written for every possible project at once. This order buys capability in roughly the sequence you will actually use it, so each item earns its place before the next one arrives.
- A cordless drill and driver set: the most-used tool in almost any garage, by a wide margin.
- A tape measure, a combination square, and a level: accuracy is the cheapest upgrade there is.
- A circular saw with a straight-edge guide: handles most of the cuts a table saw would.
- Clamps: buy more than you think you need, then buy more again after the first glue-up.
- A random orbit sander: the tool that turns rough work into finished work.
- An oscillating multi-tool: the fixer of mistakes, tight corners, and things already installed.
- A shop vacuum: dust control, cleanup, and wet spills from one machine.
- A basic hand tool set: hammer, pliers, screwdrivers, and a sharp utility knife.
- A miter saw or a jigsaw, depending on whether you cut more trim or more curves.
- A bench vise, added once you know which end of the bench you naturally work from.
Where the Savings Actually Hide
The biggest line item in a workshop is rarely any one tool. It is the habit of paying full retail for tools that spend most of their lives sitting in a drawer. This is where condition grades matter far more than brand loyalty.
Liquidation inventory is made up of customer returns, overstock, and shelf-pulls from major US retailers, which is why savings commonly land in the range of 40 to 70 percent below retail. A drill returned because the buyer wanted a different battery platform is mechanically untouched.
The condition grades tell you what you are actually getting: New, Open Box, Refurbished, Clearance, and As-Is. Open Box and Refurbished are where a lot of tool value sits, because the discount comes from packaging and paperwork rather than wear. Our guide to buying liquidation power tools covers how to read those labels on a specific listing before you commit.
One caution worth repeating: most items carry a 30-day return window, but Clearance, Open Box, and As-Is items are final sale. That is not a reason to avoid them, it is a reason to inspect first, and our walkthrough on how to inspect an open-box item is worth five minutes before your first order.
Storage That Grows Instead of Sprawls
Storage is the part everyone postpones and then regrets. Tools that live in a pile get damaged, get lost, and quietly get bought a second time because nobody could find the first one.
Start vertical, because floor space is the resource you run out of first. A pegboard or slat wall above the bench keeps hand tools visible and one reach away. Shelving above head height takes the bulky and seasonal items. A rolling tool chest carries everything that needs to travel to the far corner of the garage or out to the driveway.
Buy storage in stages and let the mess tell you what to buy next. If one category of tool keeps ending up abandoned on the bench, that category needs a home. Timing purchases around clearance cycles helps a lot here, and our shopping tips for beginners covers how to spot the right moment to buy.
A Realistic First-Weekend Plan
You can have a working shop by Sunday evening if you resist the urge to buy everything at once. Saturday morning is for clearing and measuring the space. Saturday afternoon is for building or placing the bench. Sunday is for lighting, power at bench height, and hanging the pegboard.
The tools follow the projects, not the other way around. Buy the drill, the measuring set, and the circular saw before the first job, then let each new project justify the next purchase. A workshop built in that order stays useful and stays affordable.
If you want the wider view of stretching a renovation budget across a whole house rather than one bay of the garage, our post on home improvement projects on a budget picks up where this one leaves off. And if you would rather put hands on a tool before committing, free local pickup is available at our Henderson warehouse at 3560 Volunteer Blvd, Building E, and we ship to all 50 states.
Frequently Asked Questions
What tools do I actually need to start a garage workshop?
Far fewer than most lists suggest. A cordless drill and driver set, a tape measure, a combination square, a level, a circular saw with a straight-edge guide, and a handful of clamps will handle the large majority of home projects. Add a random orbit sander and a shop vacuum next. Everything after that should be bought because a specific project demanded it, not in advance.
Is it worth buying open-box or refurbished power tools?
For most home workshops, yes. Open Box usually means the packaging was opened or the item was returned, not that the tool was worn out. Refurbished means the unit was inspected, repaired if needed, and tested before resale. Both grades cut the price without cutting the capability. Check the listed condition, confirm which accessories and batteries are included, and inspect the tool before you buy.
How much space does a garage workshop really need?
Less than you would think, if you plan for it. A bench along one wall, a clear working lane in front of it, and vertical storage above will support most projects. What matters more than total square footage is keeping a stretch of floor genuinely clear so you can maneuver long boards and full sheets. Casters on the bench let a shared garage convert back to parking in minutes.
Can I return a discounted tool if it does not work?
It depends on the condition grade. At Nellis Liquidation most items can be returned within 30 days in their original condition, which gives you time to confirm a tool powers on and runs correctly. Clearance, Open Box, and As-Is items are final sale, so those should be inspected carefully before purchase. Check the grade listed on the product page so you know which terms apply.